The first project I decided we would tackle is our mudroom. Being the smallest and most unfinished room in the house, I figured it would be the quickest and easiest considering it was basically a clean slate. Here is what we started with:

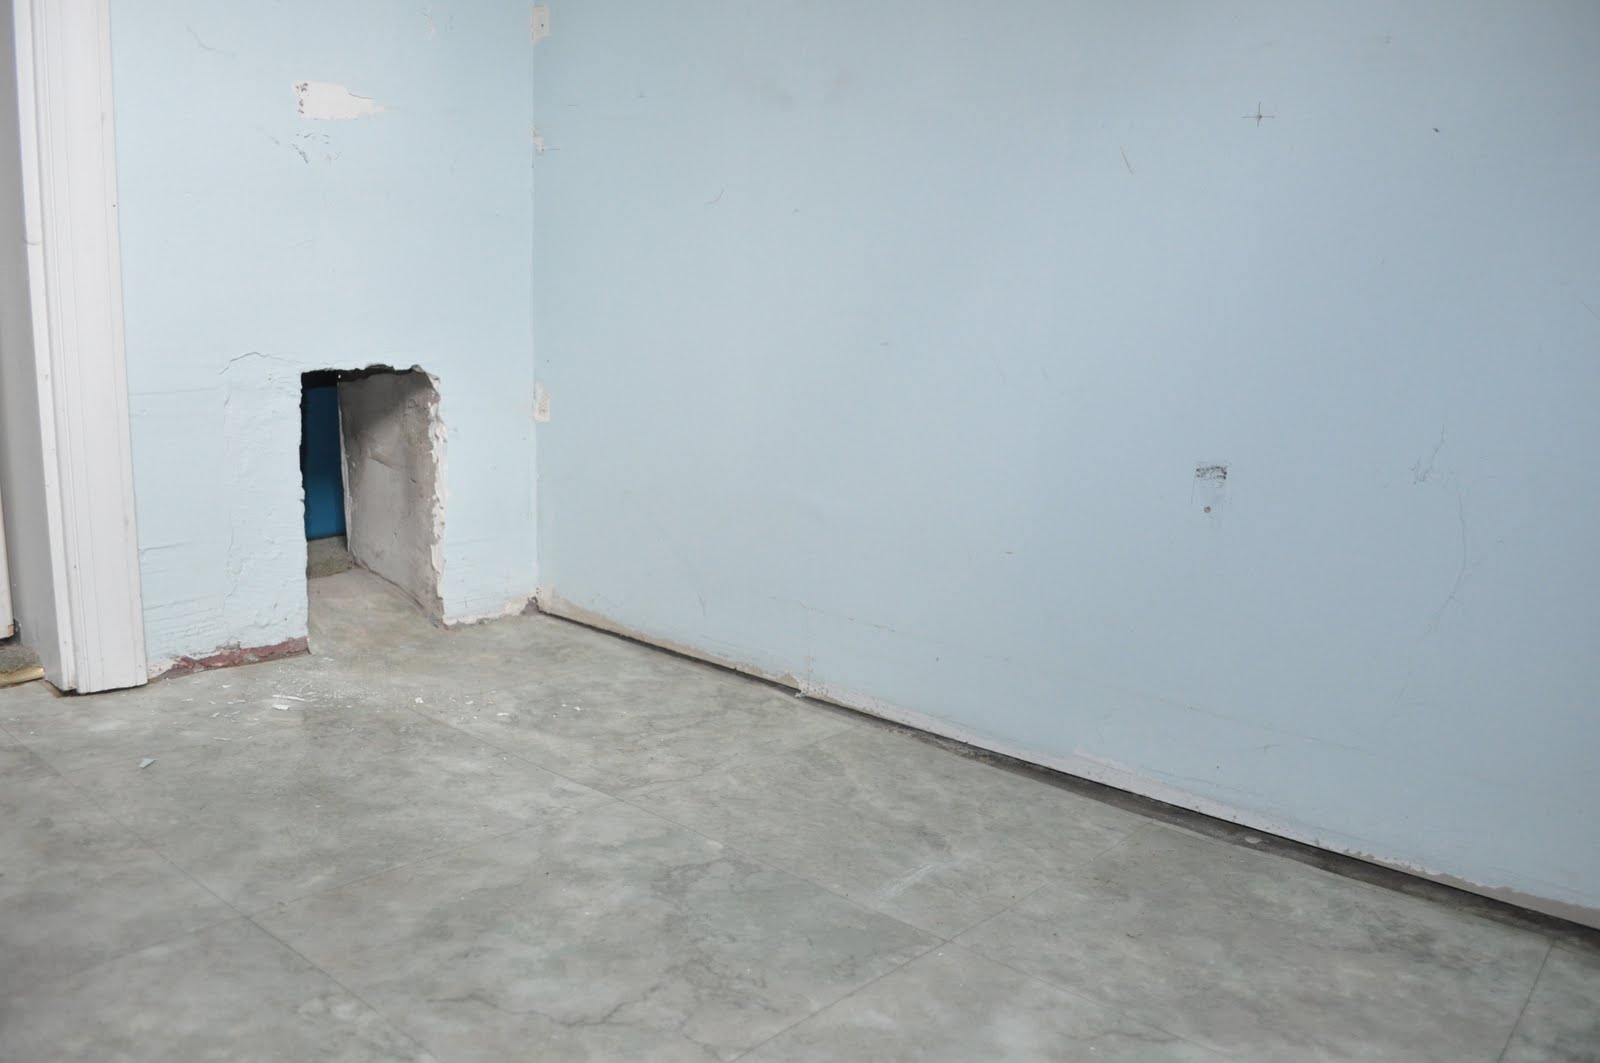
This is the entrance to the mudroom. The door has frosted "plass". I say "plass" because it's definitely not glass, it's more like plastic, so plass works for me! But it hides the room well, especially considering that the room has terrible insulation so in the summer it gets ridiculously hot and in the winter it is freezing! And yes, that is a seriously old school door bell on the top left wall, which makes an awful sound so we unplugged it. I'm scared to take it down but it will happen soon. And the hole in the wall on the bottom left you ask? We will touch on that shortly...

Oh yea, a straight shot to our neighbors backyard :)


We've got shelves down the wall on the left, a hot water heater on the right, and a great side door. It would be a great room if it weren't so messy and dirty, and oh that hot water heater is such an eye sore. So I got approval to move forward with an overhaul of this unfinished space. What I did not realize was just how unfinished it actually was...


YES just what I always wanted! A completely uneven, sloping floor! Along with some unfinished cement trim. Woohoo! Oh and the floor, literally peeled up in a second. I wish I took a picture of that but I was too busy laughing at what I had gotten myself into. Underneath is just an uneven cement surface.
There is a lot of work to do, but I am very determined! With a Home Depot trip, some supplies we already own, and of course help from my handsome live in handy man, we are going to make this room absolutely glorious! Here is a inspiration board I made before knowing what I was getting into:

I'm going to paint the walls with neutral tone on tone stripes. I for some reason thought the walls were white so this was going to be super easy. Too bad they're baby blue; therefore I will be starting from scratch. I will be keeping the lowest shelf and the highest shelf. The lowest shelf will be a bench with a cushion that I, of course, will be making, as well as a fun pillow for a pop of color. The high shelf will be for storage which will be neatly placed in baskets. (I hope!) I will be making a curtain to hang over the window as well as another long curtain to hide the hot water heater. I actually went on a hunt for fabric this weekend in Philadelphia with a good friend of mine. I happened to stumble across the fabric that I have featured in my inspiration board above; sadly it was $65 per yard.. PER YARD! Are people insane!? I then stumbled upon the below fabric which was perfect:

It's by Braemore Fabrics and is called Joy in the color Pearl; which looks Grey here but is actually more of a Taupe color. I'm so excited to get sewing while my "handy man" levels out the floor and fixes the walls! Then on to painting stripes.
I hope everyone had as great and productive a weekend as I did!

No comments:
Post a Comment
Leave me some love <3